Creating A Blog With GatsbyJS - Part One
Photo by Adam Jaime on Unsplash
Over the next series of blog posts, I'll be showing you, the dear reader, how to create this very blog! I was shocked at how quickly and easily I was able to create and launch this blog, so much so that I am now writing on this blog (this is actually the most impressive thing, you just don't know it). I will make some assumptions that you are familiar with ReactJS to some degree and won't be explaining the basics here. So let's jump right in!
All in progress code can be found at the github project. I will try to keep the posts corresponding to the commit history.
Getting Started
Installing the CLI
Make sure that you have node and npm installed (go here if you don't). I'll be using Node v6.12.1 and npm v5.6.0. Install the command line tool with npm install --global gatsby-cli. Once the CLI is installed, create a new Gatsby project with gatsby new my-new-blog && cd $_.
(If your shell doesn't support the latter half of the command, then run the first part and cd separately into the directory). This will install the default Gatsby project (although there are plenty of other starters to choose from).
The Gatsby CLI doesn't just create projects for us though, it also comes with a number of commands that support the project during development and into production.
Running the Development Server
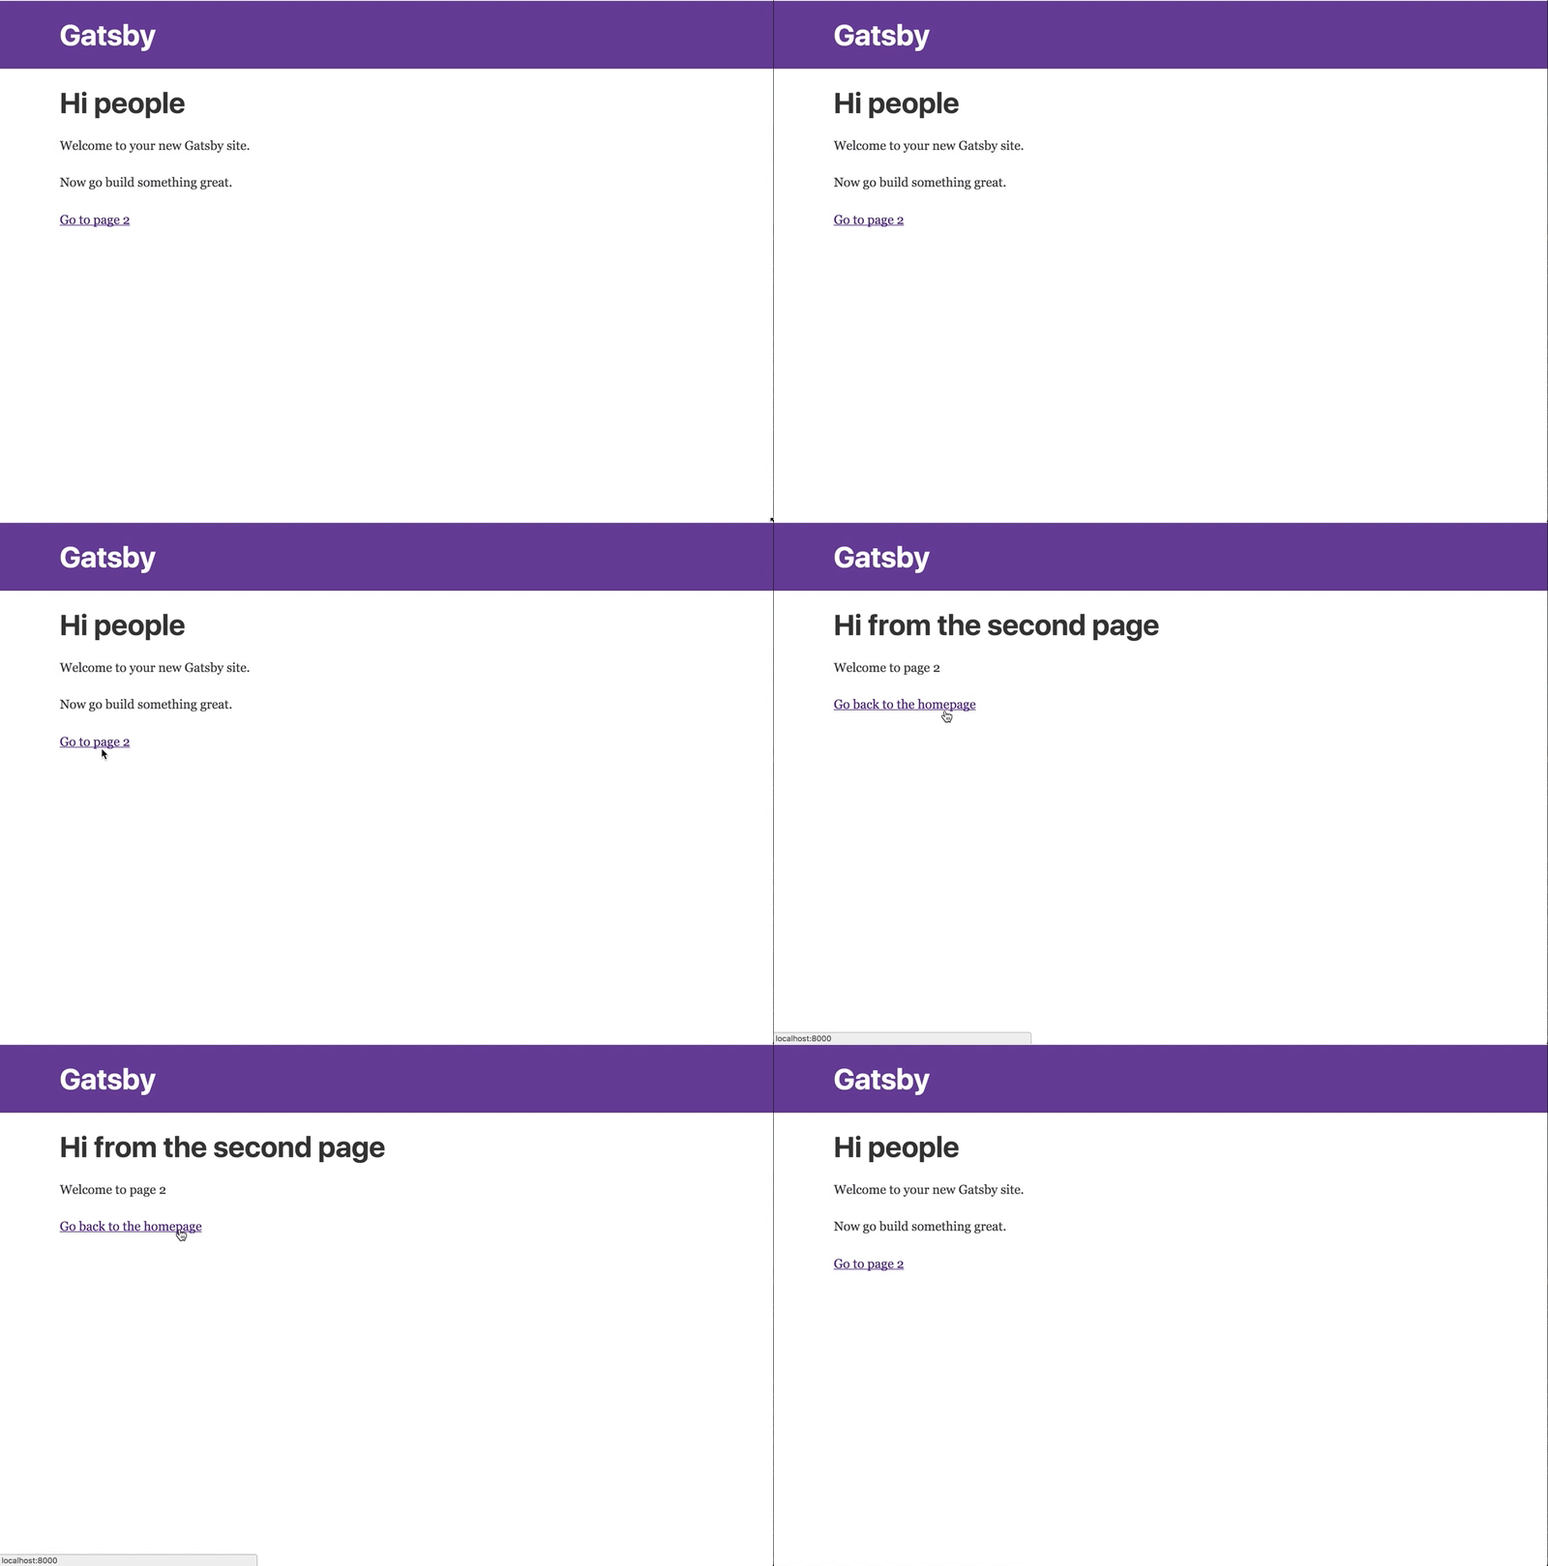
Now to see some ~magic~ by running gatsby develop. Go to http://localhost:8000/ to see the hot-reloading development environment! You page should look like this
Congrats! You have a blog! Kinda, sorta, not really, but we're getting there. I want to reflect on how little we've had to do in order to get a site into a useful development state, kudos to the Gatsby team!
When you open the main directory for your project, you'll notice several Gatsby specific files, namely gatsby-browser.js, gatsby-config.js, gatsby-node.js, and gatsby-ssr.js. You can immediately get rid of gatsby-browser.js and gatsby-ssr.js. As they note, those files are used to hook into Gatsby's browser APIs and SSR APIs.
Let's start to modify our home page with that base of our "post cards". We'll take advantage of some easy css-in-js styling by way of Glamorous and also install the base theme for the site which uses TypographyJS as an easy starting point.
Install the necessary plugins and packages for Gatsby with:
npm install --save gatsby-plugin-typography gatsby-plugin-glamor glamorous typography-theme-irvingModifying the Header
Let's modify the header to be more simplistic and also take advantage of easy styling with Glamorous!
Open src/layouts/index.js. This component wraps portions of pages are used for things like headers and footers! Go ahead and delete the contents of the file and we'll rebuild it.
First we'll create our basic page layout (including head filled with associated metadata)
import React from "react";
import PropTypes from "prop-types";
import g from "glamorous";
import { css } from "glamor";
import Link from "gatsby-link";
import Helmet from "react-helmet";

import { rhythm } from "../utils/typography";

const TemplateWrapper = ({ children }) => (
  <div>
    <Helmet
      title="ALEX M LEWIS"
      meta={[
        {
          name: "description",
          content:
            "A personal blog created and maintained by Alex Lewis."
        },
        {
          name: "keywords",
          content: "javascript, product management, learning"
        }
      ]}
    />
    <g.Div
      margin={`0 auto`}
      maxWidth={720}
      padding={rhythm(1)}
    >
      {children()}
    </g.Div>
  </div>
);

TemplateWrapper.propTypes = {
  children: PropTypes.func
};

export default TemplateWrapper;
If you saved, you'll notice that the site breaks because we haven't created typography.js yet. Let's go do that now. Create src/utils/typography.js and open it. Enter:
import Typography from "typography";
import irvingTheme from "typography-theme-irving";
irvingTheme.headerFontFamily = ["Open Sans", "sans-serif"];

const typography = new Typography(irvingTheme);

module.exports = typography;
You'll notice that we import our theme and the typography package in order to create a new Typography css "system" (for lack of a better term). I am overriding the header font as I dislike the default header font for the Irving Theme. You can also test out other themes at typography's github page.
If you save again and refresh (you may need to restart the gatsby develop process), you'll see that we have a crisp (if somewhat listless) home page!
Back to src/layouts/index.js. Currently, we created a page structure with some styling and also created metadata for the head thanks to Helmet. Let's add our simple little header now.
import React from "react";
import PropTypes from "prop-types";
import g from "glamorous";
import { css } from "glamor";
import Link from "gatsby-link";
import Helmet from "react-helmet";

import { rhythm } from "../utils/typography";

const Header = () => (
  <g.Div>
    <Link to={"/"}>
      <g.H4
        marginBottom={rhythm(2)}
        display={`inline-block`}
        fontStyle={`normal`}
      >
        HOME
      </g.H4>
    </Link>
  </g.Div>
);

const TemplateWrapper = ({ children }) => (
  <div>
    <Helmet
      title="ALEX M LEWIS"
      meta={[
        {
          name: "description",
          content:
            "A personal blog created and maintained by Alex Lewis."
        },
        {
          name: "keywords",
          content: "javascript, product management, learning"
        }
      ]}
    />
    <g.Div
      margin={`0 auto`}
      maxWidth={720}
      padding={rhythm(1)}
    >
      <Header />
      {children()}
    </g.Div>
  </div>
);

TemplateWrapper.propTypes = {
  children: PropTypes.func
};

export default TemplateWrapper;
We've added Gatsby's Link component to our Header component with a link to our base page and added a bit of styling. Nothing fancy, but not an eyesore either!
Let's call it for now. Just to recap, we:
- Installed the Gatsby CLI
- Created our project
- Ran a development server
- Created our project theme
- Modified the header for our blog
Stay tuned for the next entry where I'll introduce the headless CMS Contentful that we'll use to create and serve our content. This will allow us to get to some of the fun stuff that's data driven!
