Creating A Blog With GatsbyJS - Part Two
Photo by Chinh Le Duc on Unsplash
Last post, we explored how to get our basic gatsby project started. Today we'll look at connecting Contentful so we can have some live data running through our blog!
All in progress code can be found at the github project. I will try to keep the posts corresponding to the commit history. You can find part one here
Creating a Contentful Account
As previously mentioned, we'll be using the headless cms Contentful. It provides a generous free tier and an easy to use GUI. Head on over to their site and create an account.
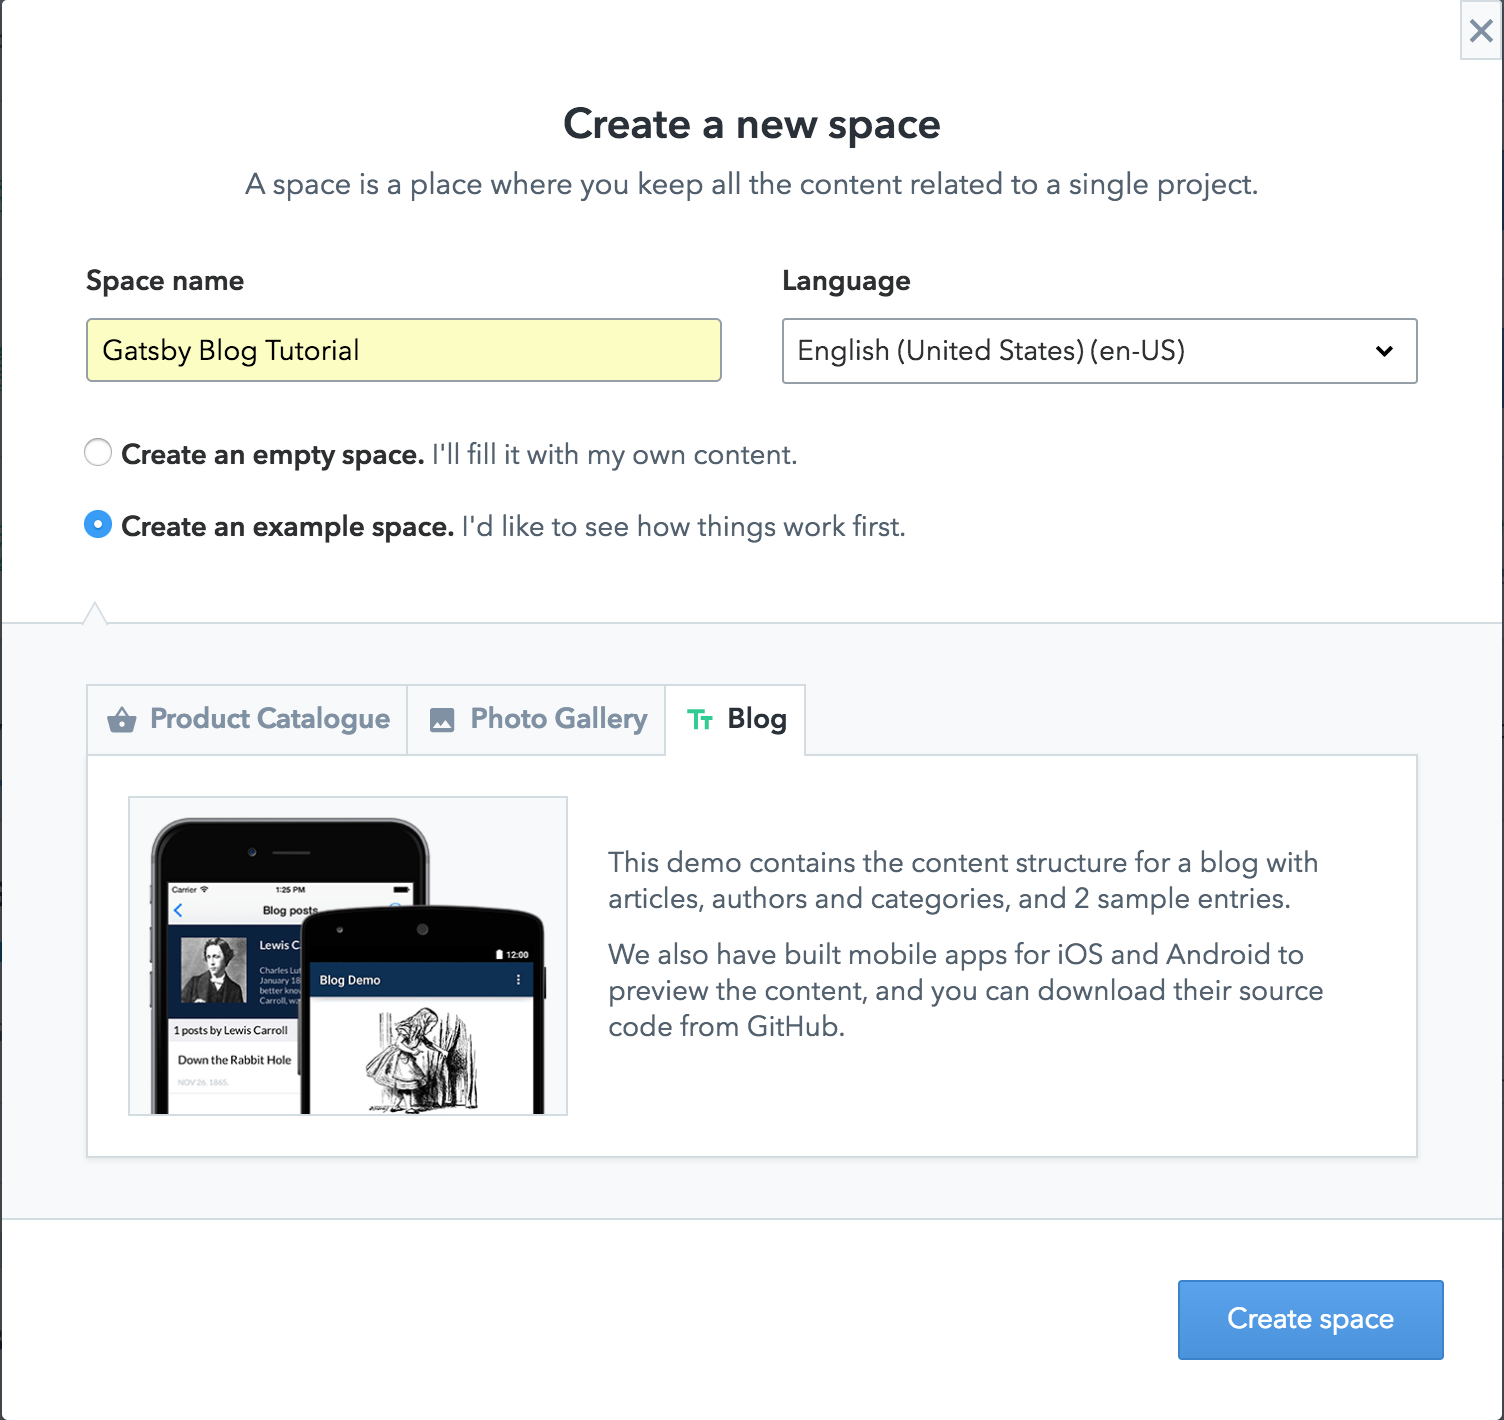
Once you sign up, click on the hamburger in the upper left hand corner and select "Add Space". Give your "space" a name, I chose Gatsby Blog Tutorial. Then select "Create an example space" so we can have Contentful do some of the bootstrapping leg work for us. Your selections should look like this:
Hit "Create Space" and sit back as Contentful loads up some schemas and example data for you!
Once it has finished, click on the Content tab to see the example data. You should see some example posts, categories, and authors.
Interating Contentful and GraphQL
We're now going to install the Contentful plugin for Gatsby. Open your terminal and run npm install --save gatsby-source-contentful. Now we need to add the plugin to our gatsby-config.js file. Your config should like this:
module.exports = {
  plugins: [
    `gatsby-plugin-react-helmet`,
    {
      resolve: `gatsby-source-contentful`,
      options: {
        spaceId: `5t78d498o5f0`,
        accessToken: `781855a7603482584dc0cae7a90771a4ff7ae75c1c2b7e690613ba2e914561db`
      }
    },
  ]
};
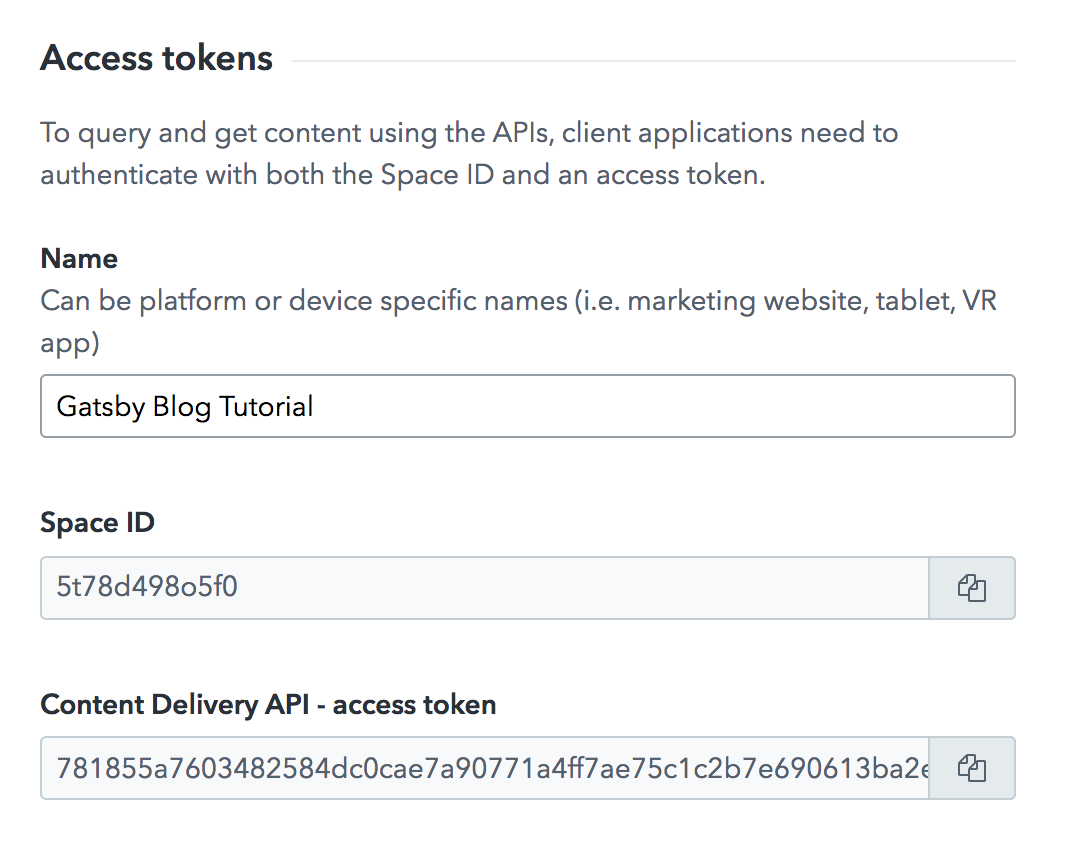
You can create your api tokens in Contentful by clicking on the APIs tab and then clicking "Add API key".
Create a name for the API and then copy your Space Id and CD API tokens to paste into your config.
Now that we are connected to Contentful, let's get wild with some GraphQL. Run gatsby develop in your terminal and go to http://localhost:8000/___graphql. Gatsby has included a GraphQL explorer for us to play around with!
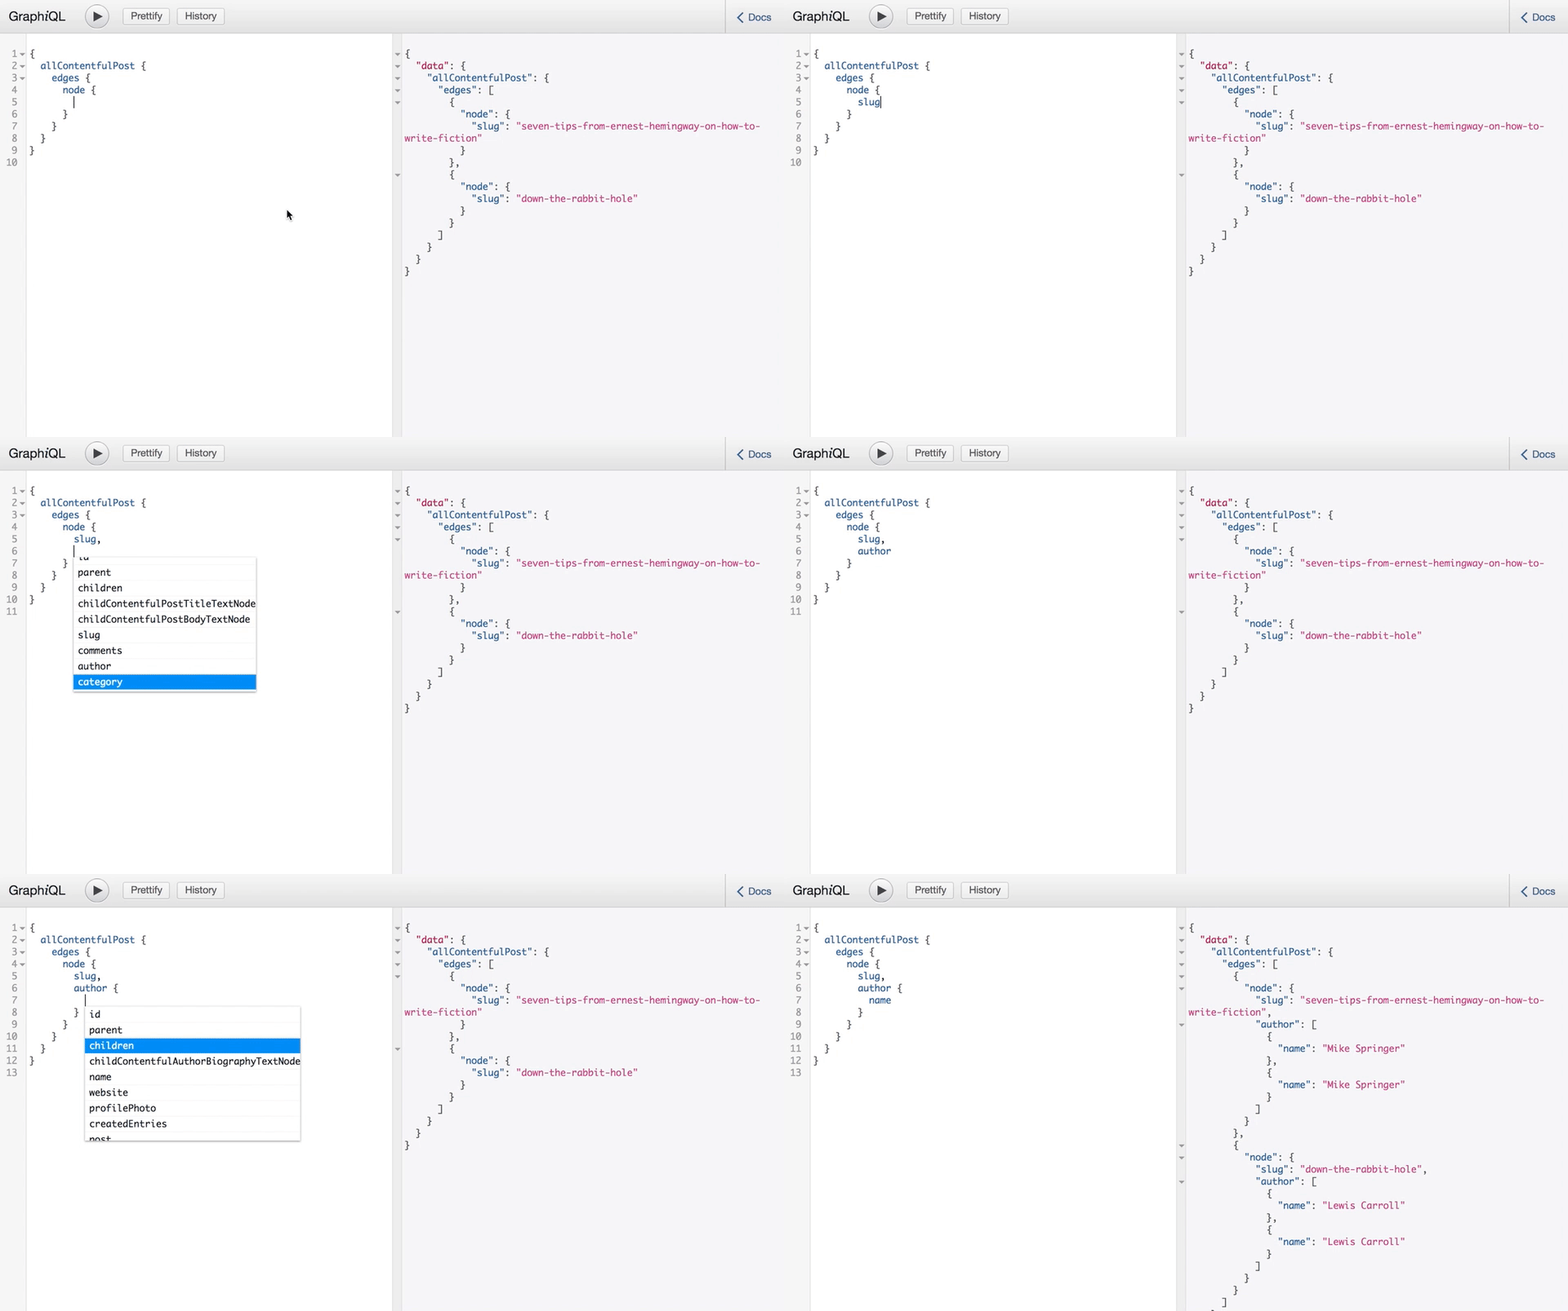
Contentful provides two standard data types: ContentType and Asset. Assets are things like images, videos, PDFs, even code files! ContentTypes are schema defined entities such as posts, authors, categories, etc. Let's explore!
Press CTRL+SPC to bring up the autocomplete window. Here allContentfulPost is querying the post ContentType. All ContentTypes follow this pattern, e.g., author specific data would be queried with allContentfulAuthor, category would be allContentfulCategory, etc. This is extremely handy when we are crafting our GraphQL queries! Speaking of which, I think its time we queried for our posts and displayed them on our front page!
Just as a test, let's grab author name, created at date, the body text (note: the test data is written with markdown), featured image, and title. Your query should look like this:
{
  allContentfulPost {
    edges {
      node {
        author {
          name
        }
        createdAt
        body {
          body
        }
        title {
          title
        }
        featuredImage {
          file {
            url
          }
        }
      }
    }
  }
}
Click the run button and look at the data we got back!
Converting Markdown to HTML
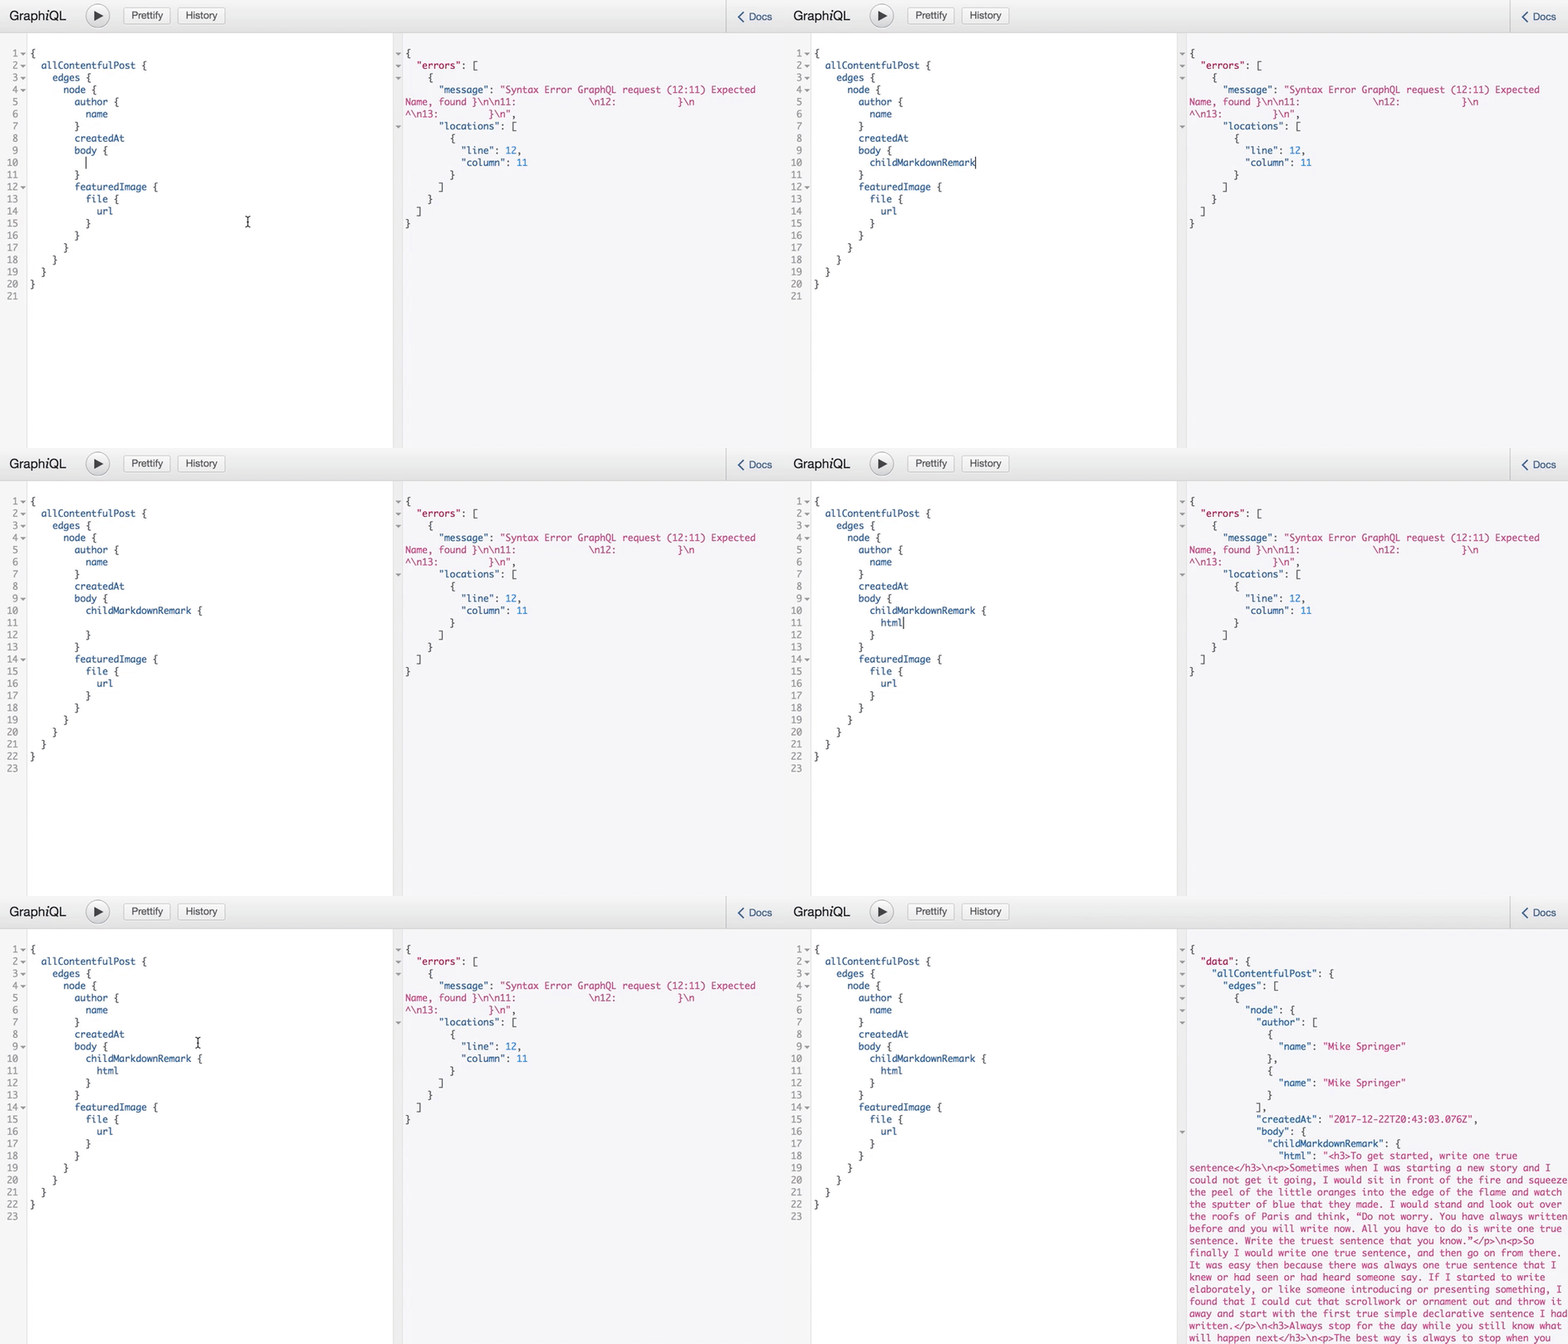
We're receiving some great data, but displaying the raw markdown isn't going to help us too much. Let's install another Gatsby plugin to help us with the markdown transformation to HTML. We'll be installing gatsby-transformer-remark. Run npm install --save gatsby-transformer-remark in your terminal and add 'gatsby-transformer-remark' to your gatsby-config.js; also be sure to restart gatsby develop.
Jump back to your GraphQL explorer and go to the body section and hit CTRL+SPC, you'll notice that you now have childMarkdownRemark available. That's the gatsby plugin doing its thing and converting the markdown for us! Go ahead and run:
{
  allContentfulPost {
    edges {
      node {
        author {
          name
        }
        createdAt
        body {
          childMarkdownRemark {
            html
          }
        }
        title {
          title
        }
        featuredImage {
          file {
            url
          }
        }
      }
    }
  }
}
We're now getting converted HTML back instead of the markdown. Let's work on displaying some of this data on our homepage!
Displaying the Data
Open /src/pages/index.js and add the query we just wrote to the bottom of the page. We'll need to add a bit of extra formatting to get it working right.
export const query = graphql`
  query IndexQuery {
    allContentfulPost {
      edges {
        node {
          author {
            name
          }
          createdAt
          body {
            childMarkdownRemark {
              html
            }
          }
          title {
            title
          }
          featuredImage {
            file {
              url
            }
          }
        }
      }
    }
  }
`;
Gatsby looks for query to be exported out of pages and then runs those GraphQl queries every time a build occurs so we don't even have to think about it!
Let's modify our IndexPage component to accept and display the data we're pulling.
import React from "react";
import g from "glamorous";
import Link from "gatsby-link";

import { rhythm } from "../utils/typography";

const IndexPage = ({ data }) => (
  <div>
    <g.Div>
      <g.H1 fontSize={rhythm(1)}>Hi people</g.H1>
      {data.allContentfulPost.edges.map(({ node }) => (
        <g.Div>
          <g.Div textAlign={`center`}>
            {node.featuredImage ? (
              <g.Img src={node.featuredImage.file.url} />
            ) : null}
          </g.Div>

          <h1>{node.title.title}</h1>
          <div
            dangerouslySetInnerHTML={{
              __html: node.body.childMarkdownRemark.html
            }}
          />
          <hr />
        </g.Div>
      ))}
    </g.Div>
    <Link to="/page-2/">Go to page 2</Link>
  </div>
);
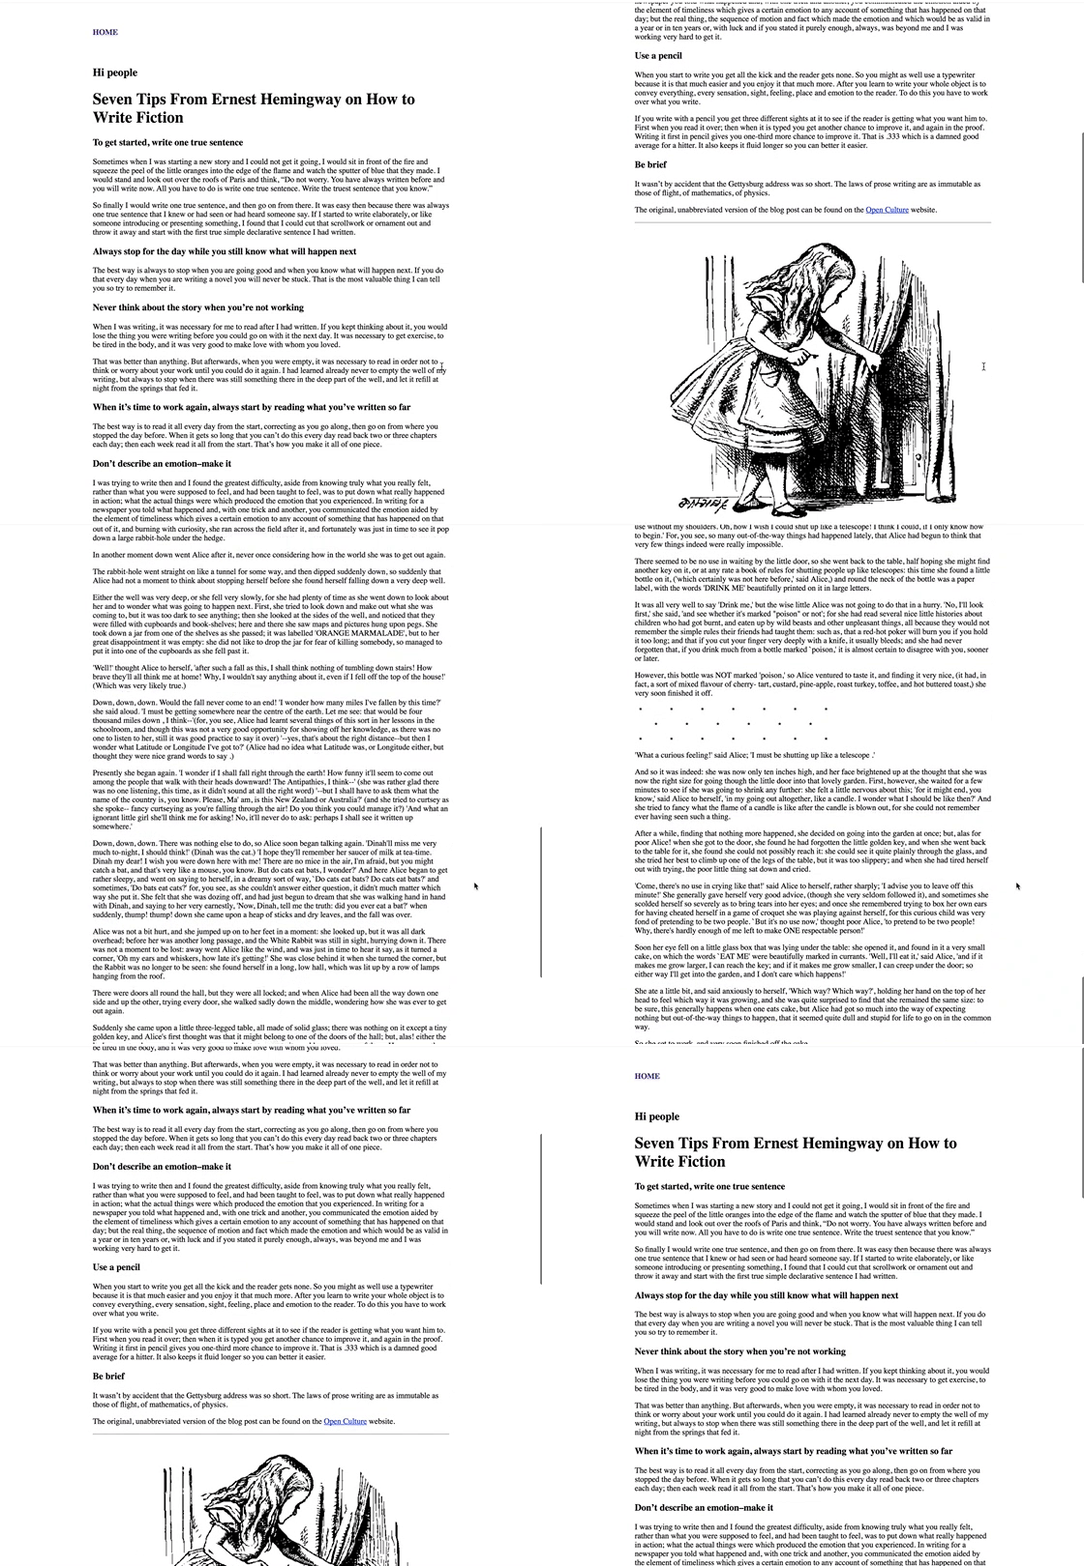
We're mapping over the GraphQL data and making sure that we don't error out on fields that are optional (I happen to know that featuredImage is an optional field in Contentful, although you can change that). Then we set the HTML to the converted markdown. Go look at the homepage to see the couple of articles that were pulled back!
Congratulations! You have a full fledged blog! At this point, you can easily add more content in Contentful and restart your develop process to see the extra content appear.
In the next part, we'll cover creating dedicated pages to those posts so they can live on their own urls.
If your had issues or questions during this tutorial, please feel free to hit me up on twitter or to create an issue on the github repo.
